How to Install Insulation Safely and Avoid Common Mistakes?
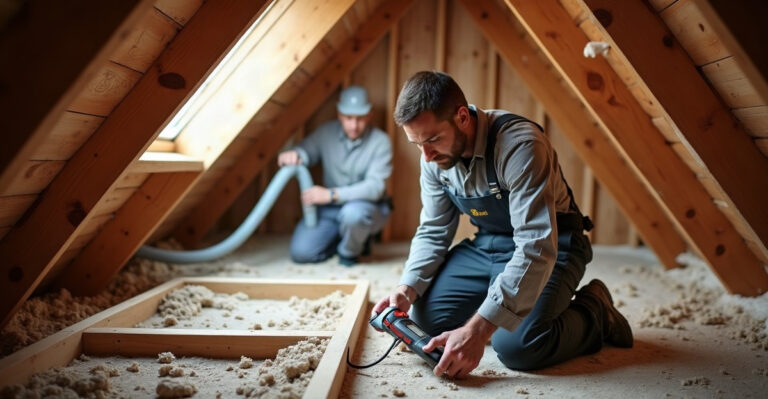
We install insulation safely by first checking for moisture, mold, pests, damaged wiring, and ventilation issues. We seal air leaks, maintain open ventilation routes, select suitable materials, and keep safe distances from heat sources. These steps prevent expensive energy-loss and fire-safety problems.
Key Takeaways
- We never cover wet, moldy, smoke-damaged, compressed, or pest-contaminated insulation. We fix the source of the problem first.
- We wear suitable protective equipment, place stable walk boards across attic joists, and never step on unsupported drywall.
- We seal accessible air gaps before adding insulation. At the same time, we keep soffit vents, ventilation baffles, and attic access hatches clear.
- We fit batts tightly without gaps or compression. For blown-in products, we spread insulation evenly to the required depth.
- We stop and contact a qualified professional if we find possible asbestos, serious moisture damage, widespread mold, rodent contamination, unidentified insulation, or unsafe wiring.
Safety Checks to Complete Before We Install Anything
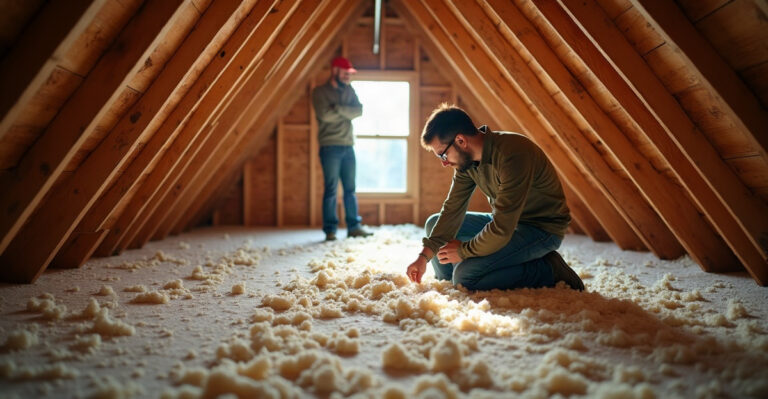
Before installing new material, we need to confirm that the attic or wall cavity is clean, dry, safe, and structurally sound. Good insulation safety starts with correcting existing damage rather than covering it.
We should never add insulation over wet insulation, moldy insulation, pest-contaminated insulation, smoke-damaged material, or heavily compressed insulation. These conditions reduce performance and can point to larger concerns, including roof leaks, poor ventilation, rodent access, or fire damage. New material will not solve the source of the problem.
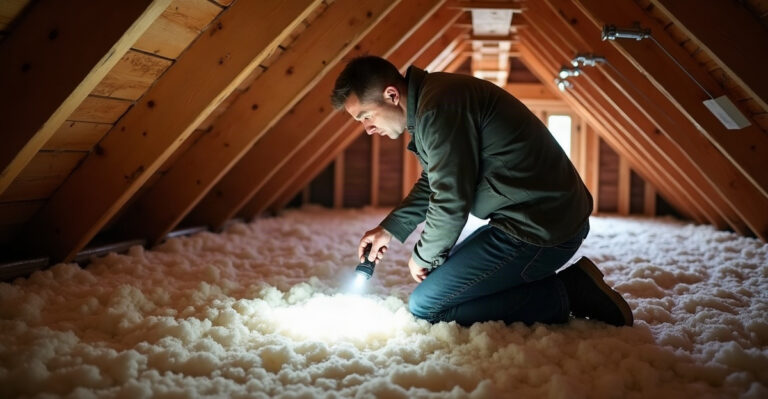
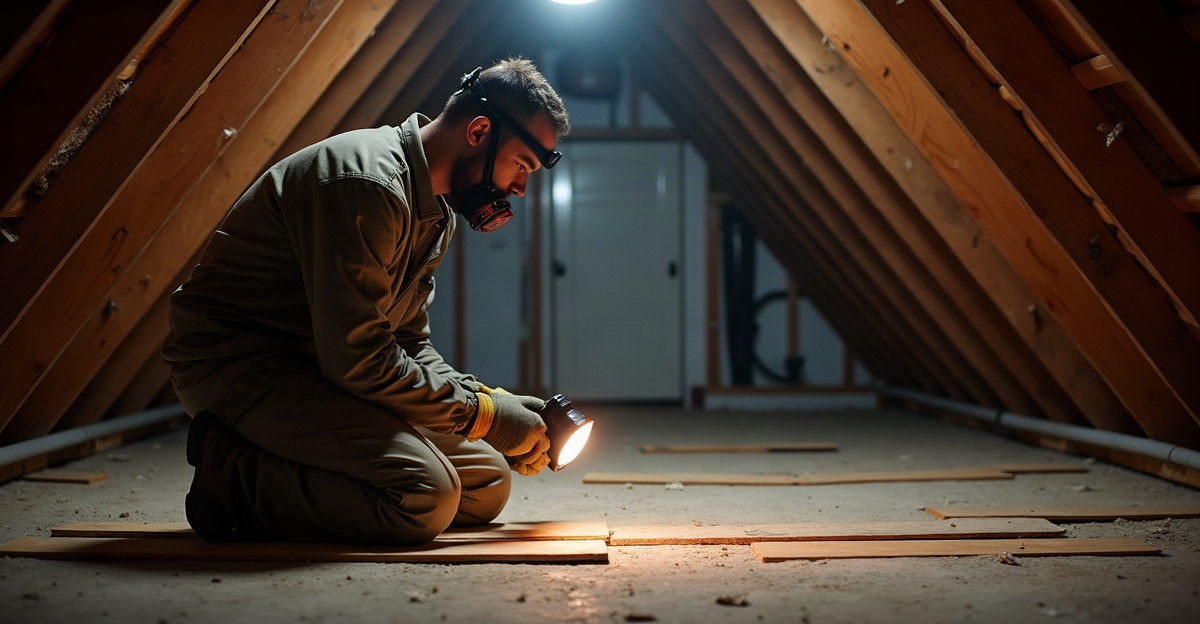
A careful inspection should check for roof leaks, damp framing, visible mold, rodent activity, bathroom exhaust vents that end in the attic, exposed wiring, and air leaks around openings. We also need to look for damaged or uncertain existing insulation. A basic understanding of what insulation means helps clarify its role: it slows heat movement, but it cannot repair moisture, electrical, or air-quality issues.
We should stop work and arrange a professional attic assessment if we find possible asbestos, major moisture damage, widespread mold, rodent contamination, damaged wiring, low-clearance hazards, or insulation that we cannot identify confidently. A central Mississippi insulation contractor can determine whether insulation removal, cleanup, repairs, or new installation should come first.
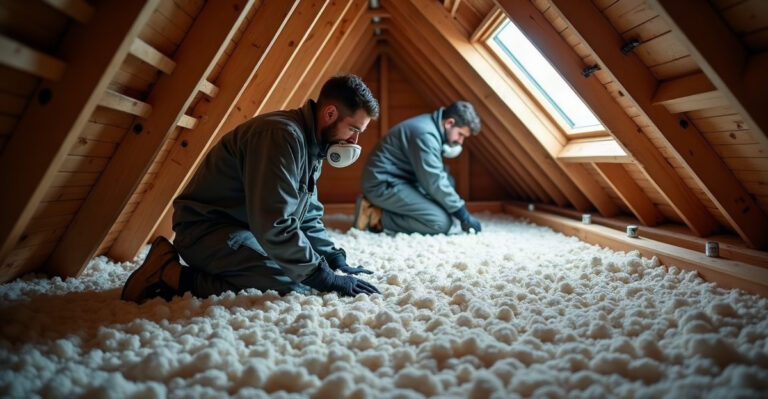
For attic insulation safety, we need eye protection, gloves, long sleeves, adequate lighting, and a properly fitted respirator or dust mask that suits the insulation material and task. Stable walk boards are also essential. We must never step between attic joists because drywall ceilings cannot support body weight. Walk boards create a secure work route and help prevent a fall through the ceiling below.
Inspect, Air Seal, and Protect Ventilation First
Insulation and air sealing work together, but they perform different jobs. Insulation slows heat transfer through ceilings, walls, and floors. Attic air sealing reduces uncontrolled airflow that carries conditioned air out of the home and allows outside air, humidity, dust, and pollutants in.
We should seal accessible gaps before placing insulation. Common trouble spots include plumbing stacks, electrical penetrations, attic hatches, duct openings, chimney chases, and gaps between framing members. Each opening needs a material appropriate for its location and expected temperature. Areas near chimneys, flues, and other heat sources require extra care and the correct approved clearances.
Attic ventilation also needs protection. Soffit vents must remain open so outdoor air can move from the eaves into the attic. Insulation baffles maintain this channel and prevent loose-fill or batt insulation from spilling into the soffit area. Blocking soffit vents can trap moisture and heat, which may contribute to wood damage, mold growth, and shortened roof life.
A bathroom vent in attic space is another issue that needs immediate correction. Bathroom exhaust should discharge outdoors, not into the attic. Warm, moist air released in an enclosed attic can soak insulation, condense on framing, and create indoor air quality concerns.
We should resolve roof leaks, damp insulation, and ventilation failures before insulating. Attic moisture control is part of every successful insulation project. The attic access hatch should also remain easy to reach, insulated, and protected from loose-fill material or batts that could block it.
Choose the Right Insulation Material and R-Value for the Space
The best insulation choice depends on the area we are insulating, the home’s construction, available space, existing conditions, moisture exposure, and target insulation R-value. There is no single product that fits every attic or wall assembly.
Fiberglass insulation works well in open, regularly spaced framing. Fiberglass batts can be a practical choice for accessible attic floors and open wall stud bays, provided we install them snugly without gaps, folds, or compression. A batt that is squeezed into a space loses thickness and thermal performance.
Blown-in insulation, including fiberglass or cellulose insulation, works especially well across open attic floors. It can fill around irregular shapes, wiring, and framing more evenly than batts in many attic layouts. Proper depth matters. Blown-in attic insulation needs consistent coverage rather than high piles in one area and thin coverage in another.
Spray foam insulation may suit certain insulation and air-sealing applications. Because installation involves specialized equipment, chemical handling, and assembly-specific moisture considerations, professional installation is usually the right choice.
Recommended R-values and attic insulation depth vary by climate zone, building age, local code, and the existing roof or wall assembly. For a Florence, MS insulation project, we should confirm current local requirements instead of relying on a one-size-fits-all recommendation. Energy savings also vary. Existing insulation levels, air leakage, HVAC performance, utility costs, and household habits all affect results.
For help choosing a material that fits the home’s conditions, we can review professional insulation services before starting work.
Install Attic Insulation Without Creating Safety or Performance Problems
We should begin attic work only after completing the inspection, attic air sealing, and ventilation checks. Plan the work route in advance, place stable walk boards over joists, and avoid stepping on drywall between framing members.
For fiberglass batt installation, we should measure and cut each piece so it fills the cavity completely. Batts need to fit around framing, wiring, pipes, and penetrations without being forced into place. Cutting around obstacles is better than leaving a gap or compressing the insulation behind them.
With blown-in attic insulation, we should distribute material evenly across the attic floor and use depth markers to verify consistent coverage. Thin areas can reduce comfort and contribute to uneven room temperatures. Overfilled areas can interfere with ventilation paths or make attic access difficult.
Clearance around heat-producing fixtures matters. We must not bury recessed lights unless they are insulation-contact rated. Even then, we should follow the fixture manufacturer’s instructions. Chimneys, flues, and similar components need the required clearance and suitable materials around them.
Common attic insulation mistakes include covering soffit vents, filling ventilation channels with insulation, burying the access hatch, and covering recessed fixtures that are not rated for insulation contact. We should also keep insulation away from areas where it could hide a wiring problem or prevent future service access.
If we add insulation over existing material, the old layer must be dry, clean, and in reasonable condition. We can level minor unevenness where appropriate, but we should not cover serious damage, wet insulation, mold, odors, or contamination. In those situations, insulation removal and replacement may be necessary before new material goes in.
Understand Why Finished Walls Often Need a Different Approach
Wall insulation installation is straightforward in open stud bays during construction or renovation. It becomes far more involved once drywall, plaster, or other finished surfaces close the cavity.
For open walls, we should install fiberglass wall insulation flush within the stud cavity. Batts need clean cuts around electrical boxes, pipes, and wiring. Gaps, voids, and compressed sections can reduce performance and create cold spots.
Faced batt insulation also needs the correct orientation for the wall assembly and local requirements. Installing the facing on the wrong side can interfere with moisture control and contribute to condensation concerns. If there is any doubt, we should verify the assembly before installation rather than guessing.
Insulating finished walls often requires dense-pack insulation or other specialized retrofit methods. These approaches may use carefully planned access points to fill enclosed cavities without removing every finished surface. Because wall cavities can contain hidden wiring, plumbing, moisture damage, or pests, experienced professionals are often the safer option for insulating finished walls.
We should pause immediately if a wall cavity reveals mold, water staining, damaged wires, or rodent activity. Insulation around electrical boxes and wiring must leave components accessible and safe, without crushing cables or hiding damage.
Avoid the Installation Mistakes That Reduce Comfort and Efficiency
Energy-efficient insulation depends on good installation as much as the material itself. Even high-quality insulation can underperform if we leave gaps, compress batts, block ventilation, or ignore moisture damage.
The most common insulation installation errors include:
- Leaving gaps around framing, wiring, and attic penetrations.
- Compressing fiberglass batts or folding them into undersized cavities.
- Installing faced batts in the wrong orientation.
- Blocking attic access hatches with batts or loose-fill insulation.
- Covering soffit vents or attic ventilation channels.
- Burying recessed lights that are not insulation-contact rated.
- Covering wet, moldy, smoke-damaged, or pest-contaminated insulation.
Uneven, sparse, or compressed insulation can reduce thermal performance and contribute to uneven home temperatures. It can also make certain rooms feel harder to heat or cool, even when the HVAC system is operating properly.
Damaged insulation should never be treated as a surface-level issue. Moisture, pests, odors, and contamination often require cleanup and repairs before replacement. Rodent-contaminated material, in particular, may require specialized attic sanitization services to restore a clean, usable attic space.
We recommend an attic insulation inspection whenever we notice moisture, pests, unusual odors, damaged insulation, rising energy bills, or inconsistent indoor temperatures. Professional insulation installation helps identify air leaks and ventilation concerns, select suitable materials, and determine whether the home needs additional insulation, removal, or full replacement.